How to Determine the Correct Cut Length for New Arrows
Coach Ruis is back with us and inspired (or appalled) by our article on why arrows should be cut .. he's written us a little (read definitive) something on the subject.
 For many years I shot the same arrows (Easton ACCs) uncut. One year I bought a new dozen, and carefully fletched and pointed them to be identical to the previous set. And then I shot both the new and the old arrows. I was shooting at 40 yards and the new arrows were grouping slightly higher and to the left from the old ones. I was puzzled so I consulted my mentor. I described the situation and his response was “Hand me both sets.” He took both sets and stood them on a table top and the new arrows were a half of an inch shorter than the old ones. Easton had decided to cut an extra half inch off of their “uncut” ACC shafts and didn’t bother to tell anyone. This problem also comes up whenever a new model or brand of arrow is chosen.
So, do you just use the cut length from the spine chart, or … ?
So, What Should I Do?
If you have been shooting for any length of time and cut arrows to the cut length recommended on a spine chart, you probably have a story about selling the arrows that were cut too short. (You can find such for sale on eBay and other second hand sales sites.) This is not to say that the spine charts are incorrect, although they undergo corrections from time to time, so I guess they have been, but that what is the correct cut length is a complicated question. I do not recommend you just cut to the length indicated in a table.
So, as to not lose you to the process, I am recommending you choose shafts wisely and then test them uncut (bare shaft testing is easiest) and then cut them a bit at a time until they test perfect. Of course you always do this with a small test set of shafts. Once you find the correct cut length, then you can cut all of the others.
How Do I Do Fit Arrows to the Correct Length?
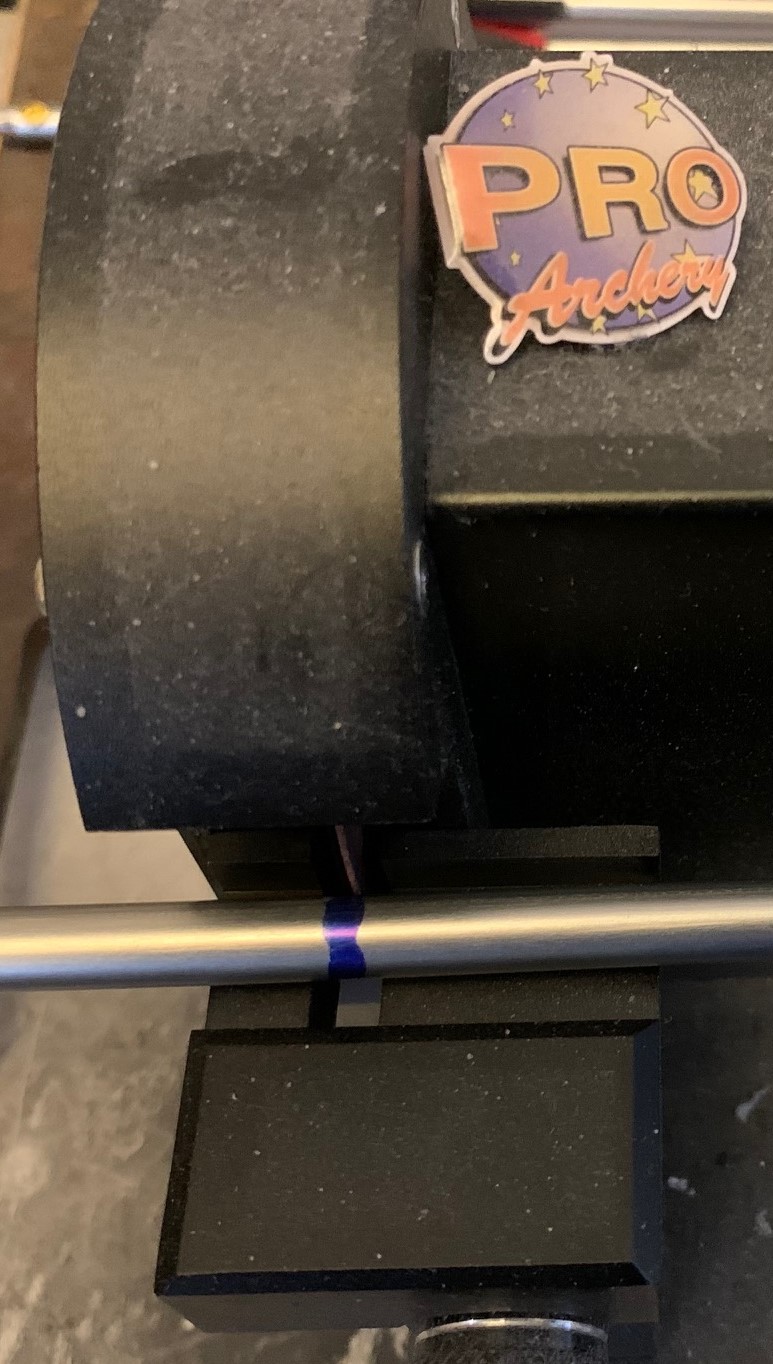
Measure twice cut once .. mibi twice .. ok thrice!
Background first .. find the arrow manufacturer’s spine chart. You can find them online and in archery catalogs. Look at how it is set up. We inherited this chart design from the early twentieth century arrow manufacturers (first wood, then aluminum). Basically across the top you have column labels corresponding to draw lengths and down the side you have row labels corresponding to draw weights. The draw lengths, more properly “arrow lengths,” across the top are in one-inch increments. In the early days, draw length wasn’t measured the same as we do now and the distance was defined as being from the string (bottom of the nock’s groove) to where the arrow sat on the shelf or archer’s knuckle. Today we call this the True Draw Length.
But archers who bought arrows at those lengths had problems pulling the arrows off of their resting points, which was dangerous (I can attest to that), so a new definition was created “the AMO Draw Length” as an industry standard. (The Archery Merchants and Manufacturers Association, AMO, closed its doors and reopened them as the Archery Trade Association (ATA), so you may hear of this referred to as the ATA Draw Length.) The AMO Draw Length was defined to be the True Draw Length plus 1 and 3/4 inches (44.5mm). An “extra” length needed to overhang the rest was added in. (The “1 3/4 inches” was a rough average of the distance from the arrow resting point to the back of the bow because measuring draw length all the way to the back of the bow was one traditional way of measuring draw length.) So AMO Draw Length and Arrow Length should be about the same. You want a little arrow hanging over the rest, but not a lot (too much is extra weight, an arrow of the correct length will weigh less because it is shorter and probably has a lesser spine, and lighter arrows fly faster, and … and …).
Spine Time

Black Eagle spine chart
Look at your spine chart. In the boxes forming the intersections of the various draw lengths and draw weights you will find that manufacturer’s spine recommendation. And if you focus on one particular shaft/spine, you will find it listed numerous times in boxes on a forty-five degree angle (bottom left to top right) through the chart. In fact all spines on offer can be found “on the diagonal” of the chart. Because the spine chart was so successful in helping people find the right arrows, no manufacturer wanted to change the setup, so every new manufacturer built their arrows so they would form the same pattern.
Because of this, there is a rule of thumb: for every five pounds you want to change draw weight (up or down), the shaft has to change one inch in length to accommodate this change. There is only so much you can chop off of an arrow shaft, so a number of different shafts with different spines have to be made, but you can find manufacturers that cover from 35-70 pounds of draw with just three shafts. Be careful, though; the spine adjustments are made by cutting the shafts. If your draw length is really long or short, you can be misled a great deal. All of the arrows that have approximately the same spine are called a spine group (and they sit in one of the little boxes in the chart).
The Procedure
Anytime I change to a new shaft I always do so cautiously. I don’t want to just “trust the charts.” I deliberately cut the new shafts “long” and then bare shaft test them. I then cut small increments off of a test set (usually three fletched, two bare) until the bare shaft test is exactly as I want it and only then cut the rest. I do this because arrows cut too long can be corrected; arrows cut too short can only be sold. As to “starting with long shafts,” since I have a long draw length, I start with testing my test set (usually three fletched, two unfletched) which is always an option for everyone. Since these are “too long” they are going to be weaker than desired, so when I BS test them, the bare shafts should land to the left of the fletched shafts (for right-handed archers; if you are left-handed, switch all left and right references). By the way, since there are so many unknowns, start your test at 10-15 yards/meters. So, they will hit to the left, but take note as to how far to the left.
Time for the Saw

1 inch steps
Now you are ready for your first cut. I use as a guide, cutting half way from full length (or whatever your “long length” is) to the chart recommended length. Then I test them again. (Yes, you have to take the points out and replace them after every cut. Use a hot melt glue rather than epoxy.) The bare shafts should still be to the left, so note how far to the left. The two distances can help you estimate your next cut length. If the BSs were 6˝ to the left uncut and then 3˝ to the left of the fletched group after the first cut, another cut of the same length should move the BS's three more inches and now be bang on.
Note: I chose easy numbers for the example, if you can’t do the math (simple proportions are all that are involved) you may have to sneak up on your cut length with smaller cuts.
So, cut and test, cut and test, until the bare shafts land with the fletched ones. Then you can cut the remaining shafts to your new cut length.
This process is not fool proof. I was helping a Recurve student set up a new set of Easton ACEs. These are expensive shafts so we needed to be careful. We used as an estimate of our first cut “halfway between uncut length and chart recommended length” and voila, the first BS test had the bare shafts landing with the fletched ones! We stopped there. (After shooting those arrows for a couple of weeks, we cut another eighth inch off of them, but were still close to an inch away from the recommended cut length.
Final Lessons
This procedure has the advantage of sneaking up on the goal, so surprises are rare, and also takes into account all aspects of your form and execution that affect dynamic arrow spine (including the quality of your release, etc.).
Postscript: This is such a pain of a process that when I find a shaft I really like, I buy new bows with specs suiting those arrows, so I don’t have to use the process. I then tune the bows to the arrows. And, of course, arrow manufacturers discontinue models, usually yours, so this process will be invoked at some point.
* * *
Steve Ruis is the author of many books on coaching archery and maintains a blog for archery coaches at archerycoach.wordpress.com. (its free and well worth a visit) He is the former editor of Archery Focus magazine.
Discover more from Glasgow Archers
Subscribe to get the latest posts sent to your email.